Here Are 13 Watercolor Brush Pen Techniques That You Should Definitely Try!
Posted by ColorIt Support on
Creating artwork with watercolor brush pens is a whole lot of fun. We know that our primer on how to use watercolor brush pens was great, but we also know that you guys are craving for more.
And guess what?
We’re more than willing to comply.
Here are 13 more tips, tricks, and techniques on how to create masterpieces using watercolor brush pens:
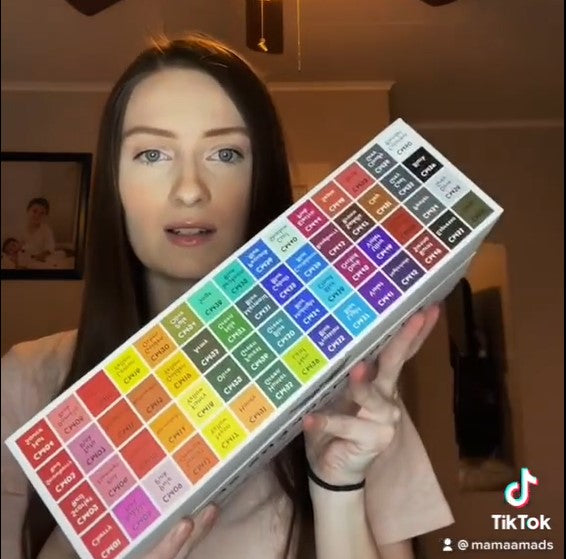
Color Theory Basics And Selecting A Color Palette
Having a solid foundation in color theory can help you create gorgeous artworks in whatever medium you like.
Case in point: the super-easy color theory tutorial above.
In this video, our resident artist Debbie teaches you the basics of color theory by creating palettes reminiscent of fall and winter. It's a comprehensive but easy-to-follow guide that helps you get acquainted with the primary, secondary, and tertiary colors.
It also introduces you to the almighty color wheel and its elements, namely, the complementary and analogous colors.
We know that this video doesn't use watercolor brush pens (it uses markers, gel pens, and glitter pens instead)--- and that's the great thing about it! You can use the same exact concept to create gorgeous palettes with just about any other medium, including watercolor brush pens.
If you're still a beginner, you can try your hand at analogous colors (aka any three colors that sit next to each other on the color wheel). For example, you can create a warm palette using yellow, yellow-orange and orange and then throw in just one complementary color into the mix for a bit of contrast.
Once you get the hang of it, you can work your way up to a more edgy palette made exclusively from complementary colors.
As long as you've got your basics down pat, you can rock even the most unconventional color combination out there.
PRO TIP: When using watercolor brush pens and other water-based mediums, make sure to use only thick, watercolor paper to get the best results. A watercolor pad of about 300gsm can withstand a bit of moisture and will allow you to blend, shade and use different techniques without any paper damage.
Creating Swatches Using Different Watercolor Brush Pen Techniques
Once you've learned the basics, you can confidently explore other watercolor brush pen techniques like the following:
Doing the wet-on-wet technique
This is a basic watercolor technique that allows you to produce light, subdued shades.
The concept is pretty simple: you just brush a bit of water onto your paper before applying ink. Easy peasy lemon squeezy, right? The water dilutes the ink and brings out beautifully light and smooth color transitions. The wet-on-wet technique is also perfect if you love doing color washes since it allows you to cover a larger area.
Using two similar tones
Want to give your paintings or illustrations a dynamic twist? Try blending two similar tones! You can go from light to dark and blend them together. If you wanna smoothen out the transition, use a bit of water between the two shades. Mastering this trick can help you create more depth and perspective in future artworks.
Playing around with complementary colors
This is where your color theory will come in! The great thing about watercolor brush pens is that you can smoothly blend colors even if they're polar opposites. All you have to do is use a bit of water at the point where the two colors meet so they can blend seamlessly.
Wash It Up
Color washes are some of the best things that you can do with watercolor brush pens. You can cover a large area when doing washes, so they're great for doing backdrops or landscapes.
Since watercolor ink is water-based, you can move it around the paper or reactivate them and create stunning effects. You can also mix and match interesting color combinations as well.
Cool table salt trick
Love the stars and the galaxies? We sure do! You can create a “starry, starry night” effect by using something that's in your pantry: table salt. Simply sprinkle a bit of salt here and there and watch them become "stars" once they dissolve on the surface.
Creating calligraphy and brush lettering with watercolor brush pens
Watercolor brush pens aren't just excellent mediums for coloring, you can also use them to create brush lettering and modern calligraphy.
If you're not familiar with brush lettering yet, the tutorial above should help you get on board. It starts with the 7 basic strokes of brush lettering, works all the way up to each letter of the alphabet and ends with various greeting cards and messages.
To create beautiful calligraphy and brush lettering, you just need to master two simple things: thin upstrokes and thick downstrokes. It looks tricky, but with lots of practice, you can get the hang of making these strokes in no time.
The secret to mastering the basics of brush lettering is in the amount of pressure that you apply to your strokes. Try to keep your grip light and easy as you go up and then put some pressure on your brush as you go down. You can also sketch it out in pencil if you're still perfecting your technique.
Once you've gotten the hang of that, you can then take on more intricate designs and complicated strokes.
PRO TIP 1: Create beautiful gradients by simply touching two brush tips together. Choose two shades from the same color family (one should be darker than the other). Rub the darker brush tip on to the lighter one until the lighter brush tip is saturated with ink. Apply it onto your paper and voila--- you've got a lovely ombre lettering design.
PRO TIP 2: Combine washes with calligraphy! You can apply the wet-on-wet technique to create calligraphy washes. Dip an ordinary brush in water and use that to write your message. Make sure that the brush is really wet when you lay down your strokes so that when you use your brush pens, the ink will just spread through the water.
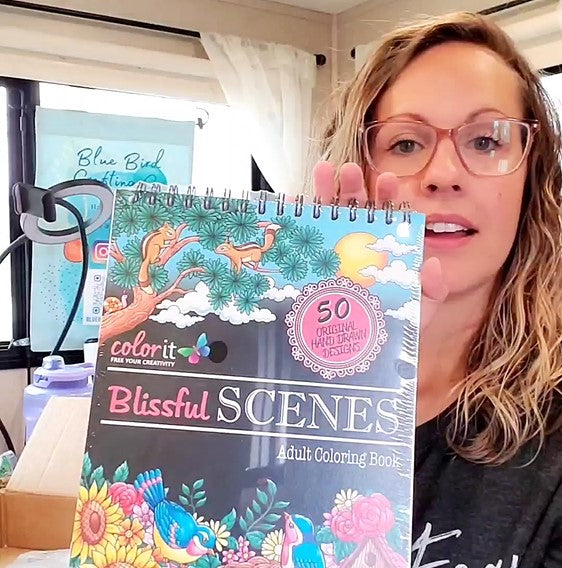
Using watercolor brush pens on coloring books
It's admittedly tricky to use water-based coloring mediums on adult coloring books, especially if the books have really thin pages. Water-based ink dries slower than their alcohol-based counterparts, so they tend to leave a bit of paper damage in their wake.
We tried to test our watercolor brush pens on one of our coloring books to see how the book's pages would hold up. As you can see from the video above, the book's pages could withstand a bit of moisture pretty well, even if they weren't made specifically for watercolor.
The trick to avoid damaging your coloring pages is in taking your time. You can easily waterlog your pages if you add on too many layers too soon, especially if you're coloring wet-on-wet. Allow your initial strokes to dry first before adding another layer. You'll find that the graining will disappear and you can build your layers more effectively.
If you want to play it safe though, you can always stick to a wet-on-dry technique, or better yet, create artworks exclusively with watercolor paper pads.
Shading and blending with watercolor brush pens
Have we mentioned how versatile watercolor brush pens are? One brush pen is capable of producing different shades, so you get to play around with almost unlimited options. The best part is that you can achieve all this watercolor goodness just by adding a bit of water.
To create light shades, dip the brush pens in a bit of water . The longer you dip the brush pens in water, the lighter the ink will become. If you want to use the pen's original shade, all you have to do is to wait for the brush tip to get saturated with ink again. You can then use that color to shade in darker parts of your illustration or painting.
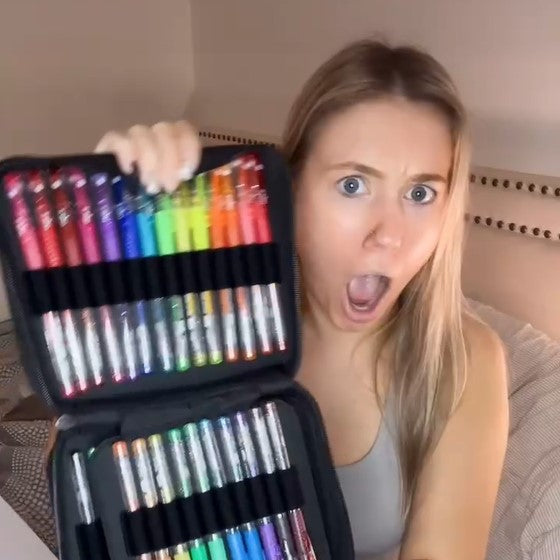
Bonus Tutorial: How To Refill Your ColorIt Watercolor Brush Pens
Brush pens running dry? Never fear! ColorIt’s watercolor brush pens come with ink refills so you can breathe new life to your pens whenever they run empty. The ink refill bottles are specifically designed and labeled for a mess-free experience, too, so refilling your brush pens is quick and easy.
All you have to do is follow these steps:
- Find the cap at the bottom of each pen.
- Twist the cap open and put about 3-5 drops of ink in.
- Twist the cap back on and you’re ready to roll again!
You can also check out the tutorial above if you need additional pointers, but that’s more or less it!
Over To You!
There's so much you can do with watercolor brush pens! Which trick or technique are you excited to try out first? Let us know in the comments below!
We hope that you guys found this guide helpful. If you loved this post, don't forget to share it with friends and family who would love to learn more about watercolor brush pens!
Share this post
0 comment